Build a JavaScript Carousel Slider With Example
By Saheb Sutradhar - Updated On 01-04-2024
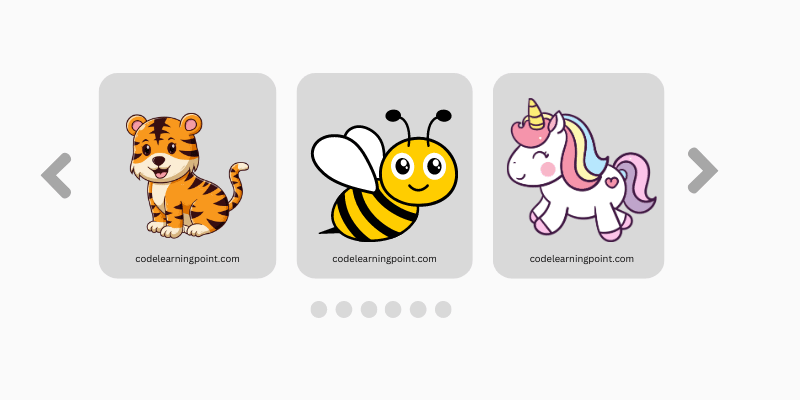
A JavaScript carousel slider lets you display multiple images or content snippets in a rotating format. It enhances engagement by keeping visitors interested. Let's learn how to create a sleek JavaScript carousel slider to showcase your website's visuals and boost visitor engagement.
Why Use a JavaScript Carousel Slider?
Here's a quick rundown of the benefits:
- Real Estate Efficiency: Showcase multiple visuals without overwhelming visitors with a cluttered page.
- Enhanced Engagement: The dynamic nature of carousels keeps visitors glued, encouraging them to explore further.
- Storytelling Power: Use the carousel to narrate a visual story, perfect for product presentations or showcasing a portfolio.
- Mobile-Friendly: With the right code, your carousel can adapt flawlessly to different screen sizes.
Build JavaScript Carousel Slider: Step-by-Step
Now, let's get our hands dirty and create a carousel slider! We'll use basic HTML, CSS, and JavaScript to bring it to life.
1. HTML Structure:
First, we need the HTML foundation. Here's a basic structure:
<div class="carousel">
    <div class="carousel-item">
      <img src="https://techsbo.com/storage/uploads/1711984102.DIY.png" alt="Image 1">
      <img src="https://techsbo.com/storage/uploads/1711984087.DIY.png" alt="Image 2">
      <img src="https://techsbo.com/storage/uploads/1711982914.DIY.png" alt="Image 3">
      <img src="https://techsbo.com/storage/uploads/1711984094.DIY.png" alt="Image 4">
    </div>
    <button class="carousel-control prev">Previous</button>
    <button class="carousel-control next">Next</button>
  </div>
This code creates a container element with the class carousel. Inside, we have placeholders for each slide (carousel-item) and buttons for navigation (carousel-control).
2. Styling with CSS:
Now, let's add some visual flair with CSS:
 .carousel {
      width: 600px; /* Adjust width as needed */
      overflow: hidden;
      position: relative; /* Add position relative to position controls */
    }

    .carousel-item {
      display: flex;
      width: 100%; /* Ensures slides fill the carousel width */
    }

    .carousel-item img {
      width: 100%; /* Make images fill the slide */
      height: auto; /* Maintain aspect ratio */
    }

    .carousel-control {
      position: absolute; /* Position controls relative to carousel */
      top: 50%; /* Align controls vertically */
      transform: translateY(-50%); /* Center controls vertically */
      background-color: rgba(255, 255, 255, 0.5); /* Semi-transparent background */
      border: none; /* Remove border */
      padding: 10px; /* Add padding for better visibility */
      cursor: pointer; /* Change cursor to pointer */
    }

    .carousel-control.prev {
      left: 10px; /* Position previous button on the left */
    }

    .carousel-control.next {
      right: 10px; /* Position next button on the right */
    }
This code defines the carousel's width and enables smooth transitions between slides. Don't forget to style your navigation buttons (carousel-control) for that extra polish.
3. Adding the JavaScript Magic:
Here comes the JavaScript that animates the carousel:
const carousel = document.querySelector('.carousel');
    const carouselItem = carousel.querySelector('.carousel-item');
    const images = carouselItem.querySelectorAll('img');
    const prevBtn = carousel.querySelector('.carousel-control.prev');
    const nextBtn = carousel.querySelector('.carousel-control.next');

    let currentSlide = 0;

    function moveToSlide(slideIndex) {
      const slideWidth = carousel.offsetWidth; // Get width of carousel
      carouselItem.style.transform = `translateX(-${slideIndex * slideWidth}px)`;
      currentSlide = slideIndex;
    }

    prevBtn.addEventListener('click', () => {
      currentSlide = (currentSlide - 1 + images.length) % images.length;
      moveToSlide(currentSlide);
    });

    nextBtn.addEventListener('click', () => {
      currentSlide = (currentSlide + 1) % images.length;
      moveToSlide(currentSlide);
    });
This JavaScript code does several things:
- It selects the carousel element and its child elements (slides and buttons).
- It keeps track of the current slide using a variable
currentSlide. - The
moveToSlidefunction animates the slides using CSStransformproperty. - The event listeners for the
prevBtnandnextBtntrigger themoveToSlidefunction to navigate through slides. - You can add optional logic for autoplay functionality in the commented section.
4. Putting it All Together:
Save your HTML, CSS, and JavaScript files with appropriate names (e.g., index.html, styles.css, script.js). Link the JavaScript and CSS files to your HTML document. Now, open your HTML file in a web browser, and voila! You should see a functional carousel slider with smooth transitions when you click the navigation buttons.
5. Output:

This is a basic example, but you can customize it further. Play around with the CSS to style your carousel and navigation buttons to match your website's design. You can also explore adding features like autoplay with pause/resume functionality, or even incorporate multiple carousels on your webpage.
With a little creativity and these building blocks, you can create captivating JavaScript carousel sliders that will enhance your website's visitor experience.
Also Read
Trending Posts

What Are the Hooks in React...

Create Input Floating Label in CSS and HTML...

CSS Card Hover Effects: Make Your Website Stand Ou...
Create a Rotate Image Gallery with HTML and CSS...
CSS Hover Effect | Web Development...

How to create MongoDB Free cloud Database - Atlas ...
Learn how to create CSS Button RGB Animation...

Create Responsive Sidebar with React JS and tailwi...
Build a JavaScript Carousel Slider With Example...
How to Disable the Submit Button in Formik...