Next and Previous Buttons in Javascript with Demo
By Saheb Sutradhar - Updated On 24-03-2024
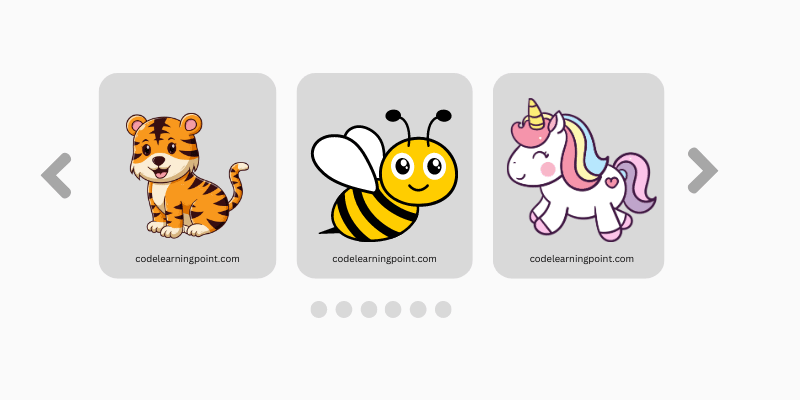
In this post we will learn how to use the next and previous buttons in JavaScript with a demo application, In the below example there is an image container and the next, previous button.
When you click the next button it will display the next image and when you click the previous button it will display the previous image.
Real-Time Example
Example 1
- We have stored the image URLs in the images array.
- Declared i variable with default value 0.
- By using the querySelector we are accessing the img element.
- when the user clicks the next button the value of I increments by 1 and we are using the I as the index of the image array to access the image element
- In the same way, when the user clicks the previous button the value of i decreases by 1 and we are using the i as the index of the images array to access the image element
In this example, we’ll create a basic image viewer with the next and previous buttons. When the user clicks the next button, the next image in the sequence will be displayed. Similarly, clicking the previous button will show the previous image.
Please copy the below code and save it in a file with a .html extension and try by yourself
<!DOCTYPE html>
<html lang="en">

<head>
    <meta charset="UTF-8">
    <meta http-equiv="X-UA-Compatible" content="IE=edge">
    <meta name="viewport" content="width=device-width, initial-scale=1.0">
    <title>CodeLearningPoint</title>

    <!-- Basic style -->
    <style>
        .img-container {
            margin: 20px auto;
            width: 40%;
        }

        .btn-container {
            text-align: center;
        }

        img {
            max-width: 100%;
            height: auto;
        }

        button {
            outline: none;
            padding: 12px;
            border: none;
            background-color: rgb(25, 121, 211);
            border-radius: 8px;
            color: white;
            cursor: pointer;
        }
    </style>


</head>

<body>
    <!-- HTML code for next and previous button -->
    <div class="img-container">
        <img src="https://codelearningpoint.com/storage/uploads/1707486491.JavaScript.png" alt="" class="imageTag">
        <div class="btn-container">
            <button onclick="previous()">Previous</button>
            <button onclick="next()">Next</button>
        </div>
    </div>

    <!-- Javascript code for next and previous button -->
    <script>
        let images = [
            'https://codelearningpoint.com/storage/uploads/1707486491.JavaScript.png',
            'https://codelearningpoint.com/storage/uploads/1709099618.NextJs.png',
        ];
        let imageTag = document.querySelector('.imageTag');
        let i = 0;


        function next() {
            if (i >= images.length - 1) {
                return false;
            }
            i++;
            imageTag.setAttribute('src', images[i]);
        }
        function previous() {
            if (i <= 0) {
                return false;
            }
            i--;
            imageTag.setAttribute('src', images[i]);
        }

    </script>

</body>

</html>
Example 2
One more example is how to use the next and previous buttons in JavaScript with a demo application, in the below app if you select the next item, the tab will be selected and when you click the previous tab will be selected.
in Below example
Please copy the below code and save it in a file with a .html extension and try by yourself
<!DOCTYPE html>
<html lang="en">

<head>
    <meta charset="UTF-8">
    <meta http-equiv="X-UA-Compatible" content="IE=edge">
    <meta name="viewport" content="width=device-width, initial-scale=1.0">
    <title>CodeLearningPoint</title>

    <!-- Basic style -->
    <style>
        .item-container {
            margin: 20px auto;
            width: 50%;
        }

        .btn-container {
            text-align: center;
        }

        li {
            display: inline-block;
            padding: 20px;
        }

        .selected {
            background-color: rgb(25, 121, 211);
            color: ivory;
        }

        button {
            outline: none;
            padding: 12px;
            border: none;
            background-color: rgb(25, 121, 211);
            border-radius: 8px;
            color: white;
            cursor: pointer;
        }
    </style>


</head>

<body>
    <!-- HTML code for next and previous button -->
    <div class="item-container">

        <ul>
            <li>ITEM-1</li>
            <li>ITEM-2</li>
            <li>ITEM-3</li>
            <li>ITEM-4</li>
            <li>ITEM-5</li>
            <li>ITEM-6</li>
        </ul>

        <div class="btn-container">
            <button class="pre" onclick="previous()">Previous</button>
            <button class="next" onclick="next()">Next</button>
        </div>
    </div>

    <!-- Javascript code for next and previous button -->
    <script>

        let children = document.querySelector('ul').children;
        let i = 0;

        children[i].classList.add('selected');// Item default selection

        function resetClass() {
            for (let j = 0; j < children.length; j++) {
                children[j].classList.remove('selected');
            }
        }

        function next() {
            if (i >= children.length - 1) {
                return false;
            }
            resetClass();
            i++;
            children[i].classList.add('selected')
        }

        function previous() {
            if (i <= 0) {
                return false;
            }
            resetClass();
            i--;
            children[i].classList.add('selected')
        }

    </script>

</body>

</html>
Explanation
- We define an array called
imagescontaining URLs of different images. - The
imageTagvariable refers to the<img>element in our HTML. - The
next()function increments the indexiand updates the image source when the next button is clicked. - The
previous()function decrements the indexiand updates the image source when the previous button is clicked.
Example 3
Here’s another example of implementing next and previous buttons in JavaScript, this time using a simple text-based approach. We’ll create a basic slideshow with text content.
<!DOCTYPE html>
<html lang="en">
<head>
    <meta charset="UTF-8">
    <meta http-equiv="X-UA-Compatible" content="IE=edge">
    <meta name="viewport" content="width=device-width, initial-scale=1.0">
    <title>Text Slideshow</title>
    <style>
        .slideshow {
            font-size: 24px;
            text-align: center;
            margin: 20px auto;
        }
        .slide {
            display: none;
        }
    </style>
</head>
<body>
    <div class="slideshow">
        <div class="slide">Slide 1: Welcome to our text slideshow!</div>
        <div class="slide">Slide 2: JavaScript is awesome!</div>
        <div class="slide">Slide 3: Let's build cool web apps.</div>
        <div class="slide">Slide 4: Keep learning and coding!</div>
        <button onclick="previousSlide()">Previous</button>
        <button onclick="nextSlide()">Next</button>
    </div>

    <script>
        let currentSlide = 0;
        const slides = document.querySelectorAll('.slide');

        function showSlide(index) {
            slides.forEach((slide, i) => {
                slide.style.display = i === index ? 'block' : 'none';
            });
        }

        function nextSlide() {
            currentSlide = (currentSlide + 1) % slides.length;
            showSlide(currentSlide);
        }

        function previousSlide() {
            currentSlide = (currentSlide - 1 + slides.length) % slides.length;
            showSlide(currentSlide);
        }

        // Show the first slide initially
        showSlide(currentSlide);
    </script>
</body>
</html>
In this example:
- We define an array of text slides.
- The
showSlide(index)function displays the slide corresponding to the given index. - The next and previous buttons update the current slide accordingly.
I hope this article is helpful for you, I am very glad to help you thanks for reading
Also Read: Qualcomm Snapdragon 7+ Gen 3: A Leap Forward in Mid-Range Chipsets - Techsbo.com
Trending Posts

What Are the Hooks in React...
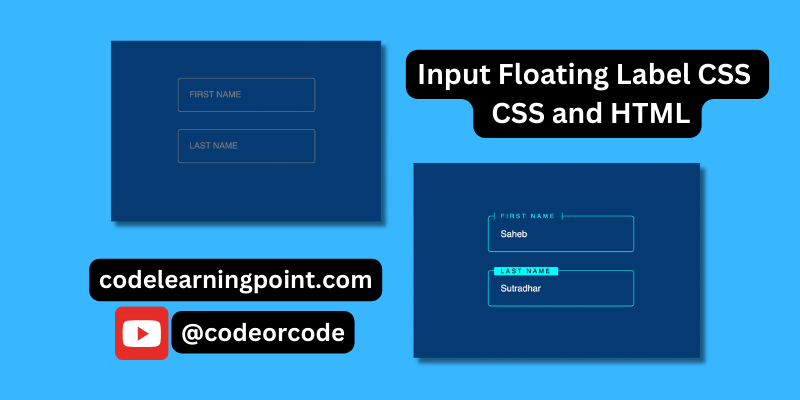
Create Input Floating Label in CSS and HTML...
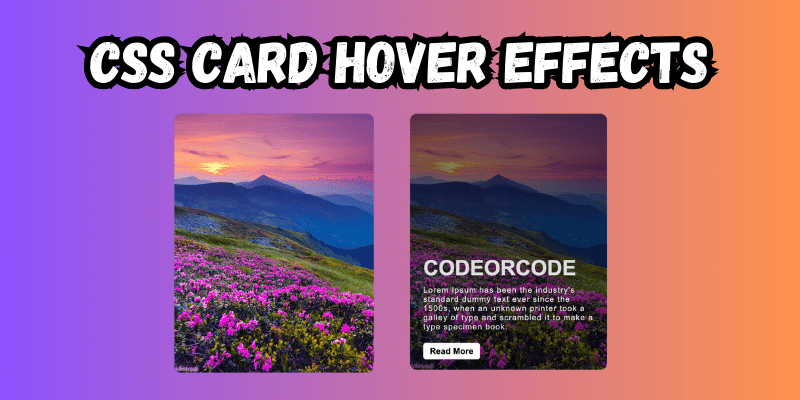
CSS Card Hover Effects: Make Your Website Stand Ou...
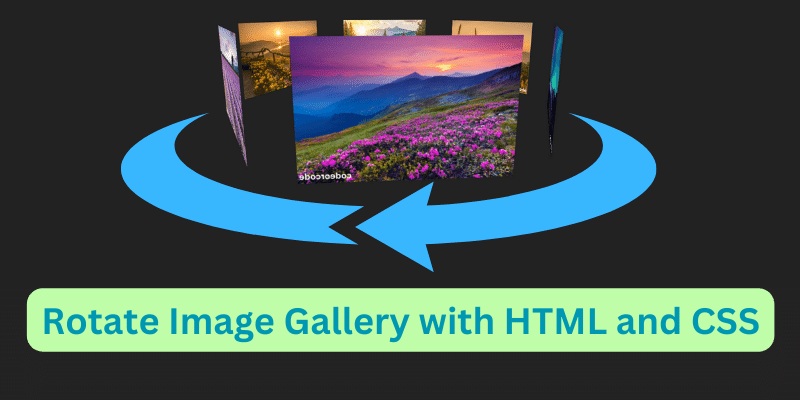
Create a Rotate Image Gallery with HTML and CSS...
CSS Hover Effect | Web Development...

How to create MongoDB Free cloud Database - Atlas ...
Learn how to create CSS Button RGB Animation...

Create Responsive Sidebar with React JS and tailwi...
Build a JavaScript Carousel Slider With Example...
How to Disable the Submit Button in Formik...