Trending Posts

What Are the Hooks in React...
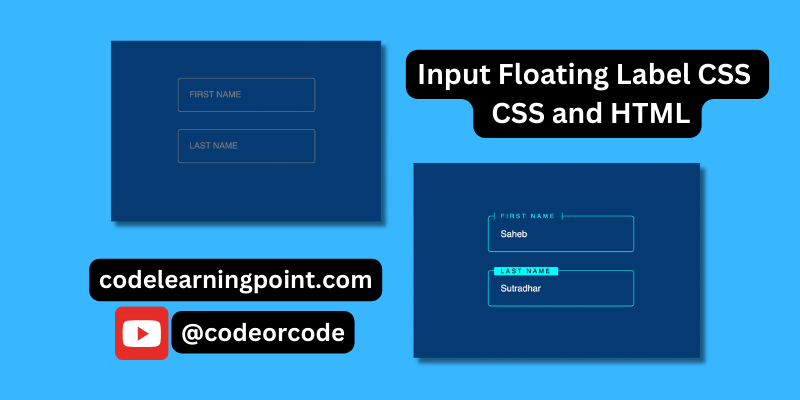
Create Input Floating Label in CSS and HTML...
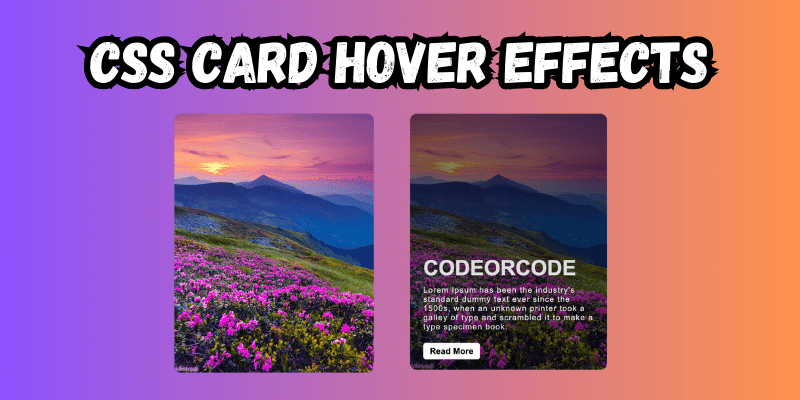
CSS Card Hover Effects: Make Your Website Stand Ou...
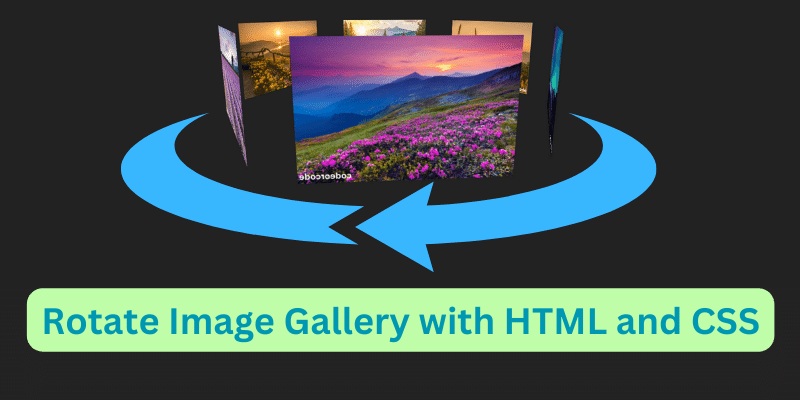
Create a Rotate Image Gallery with HTML and CSS...
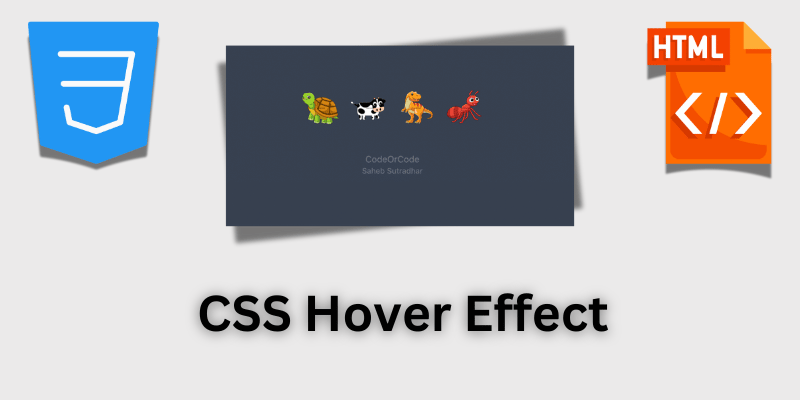
CSS Hover Effect | Web Development...

How to create MongoDB Free cloud Database - Atlas ...
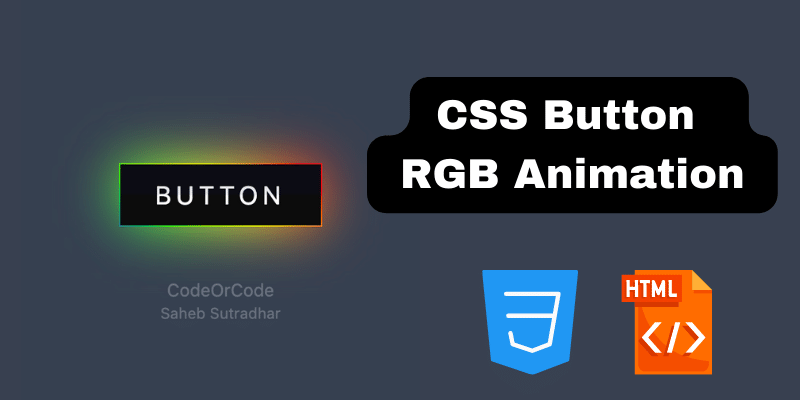
Learn how to create CSS Button RGB Animation...

Create Responsive Sidebar with React JS and tailwi...
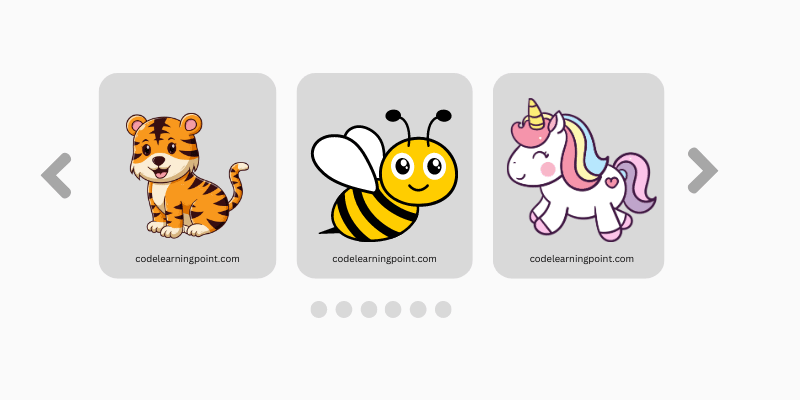
Build a JavaScript Carousel Slider With Example...
How to Disable the Submit Button in Formik...